Choosing between a blender vs grinder can transform your kitchen prep, especially when crafting soups, smoothies, or spice blends in 2025. Blenders excel at creating smooth liquids like creamy vegetable soups, while grinders are designed for dry or coarse grinding of spices, nuts, or coffee. Understanding the differences in how to use a blender versus a grinder helps you pick the right tool for your blender recipes or grinding needs. This beginner-friendly blender user guide compares blender vs grinder functionality, focusing on their roles in soup-making and beyond, to help you decide which suits your family’s kitchen.
Blenders, like the Vitamix 5200, liquefy ingredients with high-speed blades, ideal for silky purees, while grinders, such as the Cuisinart Spice & Nut Grinder, pulverize dry goods into powders. Priced from $30-$600, blenders are versatile for wet and dry tasks, while grinders ($20-$100) are specialized for dry ingredients. This guide explores blender setup, usage, blender troubleshooting, and best blender tips alongside grinder specifics, emphasizing blender safety and maintenance. By the end, you’ll know which tool best fits your cooking with blender or grinding needs. Let’s dive into this blender vs grinder comparison!
What You Need Before Choosing
Before diving into the blender vs grinder debate, assess your kitchen needs to ensure the right tool for tasks like soups or spice grinding. Proper preparation ensures safe and effective blender setup or grinder use.
For blenders, opt for models with 500+ watts, like the Oster Pro 1200 (48-ounce glass jar, $80), ideal for family-sized soups or how to make smoothie in blender. Blenders use tamper-resistant plastic or glass jars (32-72 ounces) and require a 120V outlet; portable blender options like the NutriBullet Pro ($90) run on batteries. Grinders, like the KitchenAid Blade Coffee Grinder ($30), use smaller 4-12 ounce stainless steel or plastic bowls, designed for dry goods like spices or nuts, and also plug into 120V outlets. Gather accessories: a sharp knife, cutting board, and measuring cups for blender prep; grinders need minimal prep but benefit from a small brush for cleaning.
Blender safety requires lid locks, non-slip bases, and overheat protection—check manuals for models like the Hamilton Beach Power Elite. Grinders have simpler safety features, like push-down lids, but avoid overfilling to prevent motor strain. Clear your counter, inspect for damage, and test blenders with water on low; grinders don’t need liquid tests. For hot soups, cool ingredients to below 160°F to avoid splatters. Beginners should start with simple tasks—blending cold liquids or grinding soft spices. Visit blender reviewz for model comparisons in this blender vs grinder choice. Proper blender maintenance involves cleaning after use; grinders require dry brushing to avoid residue buildup.
Step-by-Step Comparison: Blender vs Grinder
Comparing blender vs grinder functionality highlights their strengths for specific tasks. This guide details how to use a blender or grinder, focusing on soups but covering other uses, ensuring blender safety and grinder efficiency.
Preparing Ingredients
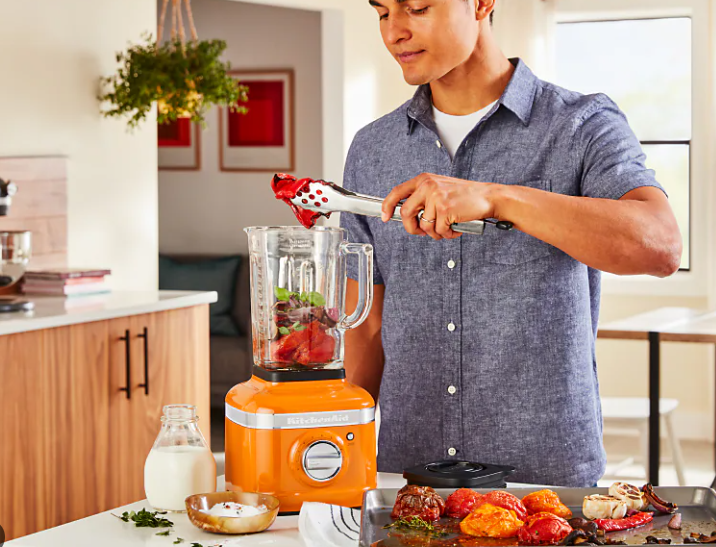
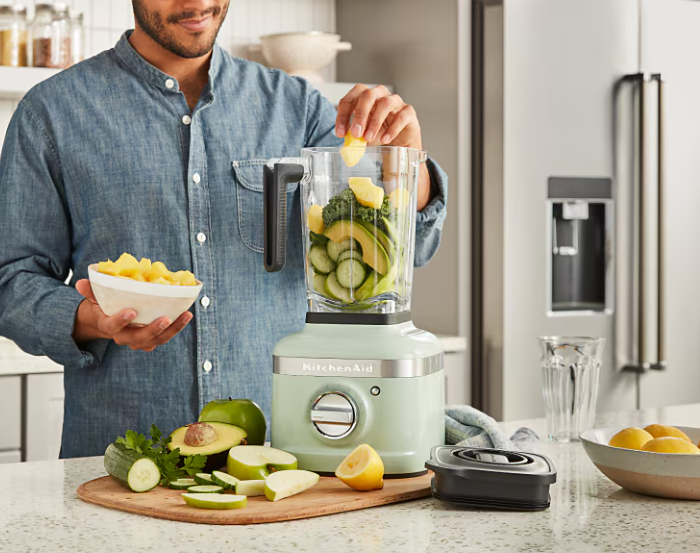
For blenders, chop vegetables like carrots or zucchini into 1-inch pieces for even soup blending. For a creamy cauliflower soup, steam tough veggies briefly and use a 2:1 solids-to-liquid ratio with broth, staying below the jar’s max line. Add spices early, adjust salt post-blend, and thaw frozen items slightly. Layer liquids first, then soft ingredients, greens last to avoid clumping. For grinders, use dry ingredients only—whole spices like cumin or nuts like almonds work best. No chopping is needed, but ensure pieces fit the bowl (e.g., break nutmeg in half). This 5-10 minute prep is a best blender tips practice for blenders; grinders need minimal prep but clean ingredients to avoid grit.
Setting Up the Appliance
For blenders, lock the jar onto the base until it clicks (e.g., Oster’s light indicator). For immersion blenders, secure the wand. Load to two-thirds capacity for soups, using a tamper if included (common in Vitamix). Close lids tightly, engage safety locks, and plug in. Start on low for chopping. For grinders, fill the bowl to half capacity with dry ingredients, secure the lid (often push-down), and plug in. No tamper is needed—grinders rely on blade vibration. Blenders like the Ninja Foodi offer soup presets; grinders like the Cuisinart have simple on/off or pulse settings. This ensures safe blender setup or grinder operation.
Selecting Modes
In the blender vs grinder comparison, blenders offer versatile modes. Use “puree” or high-speed settings for silky soups—Vitamix’s 10 speeds (500-37,000 RPM) excel here. For how to make smoothie in blender, select low-to-medium modes; pulse for chunky soups. Grinders have basic settings—pulse or continuous for coarse to fine grinds (e.g., coffee beans in 10-20 seconds). Ninja’s presets simplify blending; grinders like KitchenAid rely on manual pulsing. Check manuals—wrong settings cause blender troubleshooting or grinder jams. Blenders handle wet and dry; grinders are dry-only for cooking with blender or spice prep.
Processing Ingredients
For blenders, start low for 10-20 seconds, then high for 30-60 seconds for smooth soups. Use a tamper for thick mixes; Vitamix heats soups via friction in 5-7 minutes, while Oster may need reheating. Monitor motor hum—redistribute if strained. For grinders, pulse in 5-10 second bursts to avoid overheating, shaking the bowl gently to ensure even grinding. Process spices or nuts for 15-30 seconds for fine powders. Blenders excel at liquid-based blender recipes like tomato soup; grinders create spice blends or nut flours. Test blends for smoothness, grinds for consistency.
Testing and Troubleshooting
For blenders, check soups for lumps; blend longer if needed. For blender troubleshooting, address overheating by cooling 15-20 minutes. Leaks? Tighten seals or replace gaskets. For grinders, ensure no moisture enters to avoid clumping—clean with a dry brush. If grinders jam, reduce load and pulse briefly. Test grinders with small spice batches; blenders with water. Visit blender guide for fixes. Blenders are versatile; grinders are specialized but efficient.
Tips for Successful Use
Maximize your blender vs grinder experience with these best blender tips, ensuring blender maintenance and blender safety for both appliances.
Clean blenders immediately: blend warm soapy water for 30 seconds, rinse, and dry to prevent mold. For grinders, brush dry residue—never use water. For blender safety, secure lids, vent steam for hot soups, and unplug before handling. Grinders need no venting but avoid overfilling. Save energy: blenders like Ninja use presets for efficiency; grinders need short bursts. Chop small for blenders; use dry, small pieces for grinders. Experiment with blender recipes like smoothies or grinder-made curry powders. Check blades yearly—blenders may need gaskets, grinders new bowls. Explore blending tips for more.
Frequently Asked Questions
Confused about blender vs grinder? These FAQs clarify key concerns.
Can a blender replace a grinder? Partially—blenders like Vitamix grind dry spices, but grinders like Cuisinart are more efficient for fine powders.
Can grinders handle wet ingredients? No, grinders are dry-only; blenders excel for wet tasks like how to make smoothie in blender.
How do I fix jams or overheating? For blenders, cool 15 minutes and reduce load; for grinders, pulse briefly and clear debris. Check blender troubleshooting.
Are portable blenders good for grinding? No, portable blenders like NutriBullet are best for liquids; use grinders for spices.
Conclusion
In the blender vs grinder debate, blenders like Vitamix shine for versatile liquid-based tasks like soups, while grinders like Cuisinart excel for dry spices or nuts. Choose based on your needs—blenders for cooking with blender, grinders for precision grinding. Master how to use a blender or grinder with this guide for seamless blender setup and blender recipes. For more insights, visit blending tips. Happy blending and grinding!