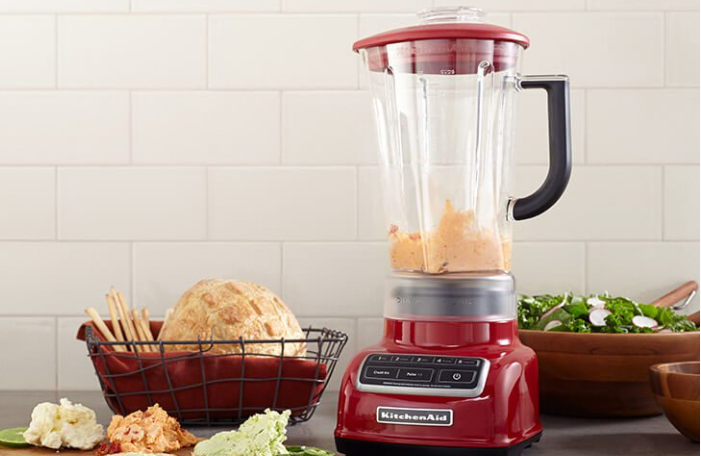
A burnt smell from your blender can be alarming, especially when you’re mastering how to use a blender for family-sized soups, smoothies, or other blender recipes. This issue, often linked to motor strain or overheating, is a common concern for home cooks in 2025 using affordable blenders like the Oster Pro 1200 or Hamilton Beach Power Elite. Understanding why your blender smells burnt and how to fix it ensures you can continue cooking with blender safely and efficiently. This beginner-friendly blender user guide dives into the causes of that burnt odor and provides actionable blender troubleshooting steps to resolve it.
Whether you’re blending creamy vegetable soups or fruit smoothies, a burnt smell signals a problem that can often be fixed at home. This guide covers identifying causes, performing quick fixes, and preventing future issues with best blender tips. From checking the motor to proper blender maintenance, you’ll learn how to keep your appliance in top shape for family meals. By the end, you’ll know how to address a burnt-smelling blender and maintain blender safety for worry-free blending. Let’s get started!
What You Need Before Troubleshooting
Before addressing why your blender smells burnt, gather tools and ensure a safe blender setup to diagnose and fix the issue effectively. Proper preparation is key for successful blender troubleshooting, especially for family-sized blenders used for soups.
You’ll need a clean workspace, a screwdriver (often Phillips for blade assembly), a soft cloth, mild dish soap, and your blender’s manual for model-specific details (e.g., Oster or NutriBullet Pro). For blender safety, unplug the blender to avoid electrical hazards. If blending hot soups caused the smell, let the jar cool to prevent burns—use heat-resistant gloves when handling components. A small brush or toothbrush helps clean motor vents or blade areas. If you suspect worn parts like gaskets or bearings, have replacements ready (check blender reviewz for compatible parts). For portable blenders, ensure batteries are charged or cords are intact. This setup equips you to tackle the burnt smell while maintaining blender maintenance standards.
Step-by-Step Guide to Fixing a Burnt-Smelling Blender
A burnt smell often indicates motor strain, overheating, or debris issues, but most cases are fixable at home. This step-by-step guide simplifies blender troubleshooting for a burnt smell, focusing on soups but applicable to smoothies or sauces, with blender safety in mind.
Identifying the Cause
Start by determining why your blender smells burnt. Unplug it and inspect after a recent use. Common causes include:
– Overheating Motor: Blending thick soups or overloading the jar (beyond two-thirds capacity) can strain the motor, especially in budget models like the Hamilton Beach. Continuous blending over 1-2 minutes without breaks often triggers this.
– Stuck Blades: Food debris or sticky ingredients like nut butters can jam blades, forcing the motor to work harder and produce a burnt odor.
– Worn Components: Damaged bearings or gaskets can cause friction, leading to a burning smell. Check for unusual noises or wobbling.
– Electrical Issues: Faulty wiring or a worn power cord may produce a burnt plastic smell—rare but serious.
Run a test with water on low for 10 seconds to see if the smell persists. This 2-3 minute step is a best blender tips practice to pinpoint the issue.
Letting the Motor Cool
If overheating is the cause, unplug the blender and let it cool for 20-30 minutes. Most affordable blenders, like the Oster Pro 1200, have thermal protection that shuts off the motor to prevent damage. After cooling, test with water on low. To prevent future overheating, blend in 30-60 second bursts and avoid overfilling—stick to the max line for soups. For thick blender recipes, use a tamper to ease blade movement.
Cleaning the Blades and Jar
Stuck blades or debris can cause motor strain and a burnt smell. Unplug the blender, remove the jar, and disassemble the blade unit (use a screwdriver if needed). Clean the blades with a brush and soapy water, removing residue from soups or sticky ingredients. For portable blenders like the NutriBullet, check the screw-on blade for buildup. Rinse the jar thoroughly and dry. Reassemble and test with water. This 5-10 minute step is crucial for blender maintenance.
Inspecting and Replacing Worn Parts
Worn gaskets, bearings, or blade assemblies can cause friction and burning odors. Remove the blade unit and check the rubber gasket for tears or looseness—replace if worn (gaskets cost $5-10). Inspect bearings for grinding noises or stiffness; if damaged, order a replacement blade assembly (check blender guide for parts). For immersion blenders, ensure the wand’s connection is secure. Reassemble tightly and test. This step prevents further damage and restores performance.
Testing and Checking for Electrical Issues
After fixes, test with water on low for 30 seconds, then try a small batch of soup (warm, not boiling). If the burnt smell persists, inspect the power cord and plug for fraying or burn marks—stop using immediately if found and contact the manufacturer. For blender troubleshooting, persistent smells may indicate motor damage; affordable models like the Oster have 1-3 year warranties. If electrical issues are suspected, seek professional repair. These steps ensure your blender is safe and functional.
Tips for Preventing Burnt Smells
Keep your best affordable blender odor-free with these best blender tips, tailored for soups but versatile for all recipes, ensuring blender safety and blender maintenance.
Clean immediately after use: fill the jar halfway with warm soapy water, blend for 30 seconds, and rinse. For immersion blenders, detach and wash under water. Dry thoroughly to prevent residue buildup. For blender safety, cool hot soups to below 160°F and use vented lids to avoid pressure. Don’t overfill—keep soups at two-thirds capacity. Blend in short bursts and use pulse for thick mixtures. Regularly check gaskets and blades for wear, replacing as needed. For blender recipes like creamy spinach soup, chop ingredients small to reduce strain. Store dry and covered. Explore blending tips for more advice.

Frequently Asked Questions
Worried about a burnt-smelling blender? These FAQs address common blender troubleshooting concerns for soup-making.
Why does my blender smell burnt during soups? Thick mixtures or overfilling strain the motor, causing overheating. Blend in bursts and use less volume.
Can I fix a burnt smell at home? Yes, cooling the motor, cleaning blades, or replacing gaskets often works. Check the manual or blender guide for parts.
Is a burnt smell dangerous? Usually not, but persistent smells or visible damage (e.g., frayed cords) require manufacturer attention for blender safety.
Do portable blenders overheat easily? Yes, due to smaller motors. Use short blends for portable blenders like the NutriBullet to avoid strain.
Conclusion
A burnt smell from your blender doesn’t mean it’s time to replace it. With this blender troubleshooting guide, you can identify and fix the issue, ensuring your best affordable blender is ready for soups and smoothies. Proper blender maintenance and blender safety keep your appliance running smoothly. Start blending worry-free and explore new blender recipes for your family. For more solutions, visit blending tips. Happy blending!